After the tragic breakdown of my laptop I was left with no computer for my travels around the world. I was about to leave for Turkey and I needed some form of PC to keep me entertained and to stay connected to the world. Back in 2004 I bought myself a computer with an AMD Athlon 64 3200+ and ATI X800 GPU and was thinking that maybe that could be brought with me as hand baggage. I went back to my parent’s house, where it was stashed, and saw the size of the case I had bought for it. The Cooler Master Centurion.
It was just far too big. I needed something smaller. While thinking of a solution to this I was also thinking of how to improve on a Socket 939 motherboard without spending too much money. After asking for advice on the Bit-tech forums I got an X2 3800+ and a new graphics card. They told me to get an ATI 5450 but I got a 1GB GDDR5 5670 from a friend for next to nothing.
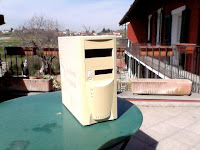
So new bits, still no case. On returning home to Italy my girlfriend told me she still had a computer that she bought in 1996 and that I could use that case. Ignoring the looks of the case, I measured it up and realised that it was perfect for flight hand baggage allowance. Awesome. So here is the beige goodness:
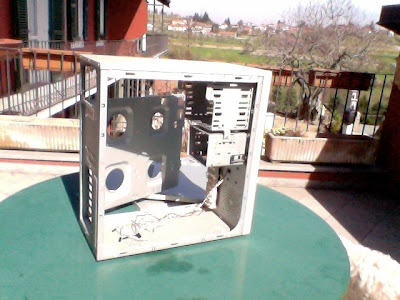
Just as ugly as I remember computers being back then. Oh well, beggars can’t be choosers so time to take it to pieces.
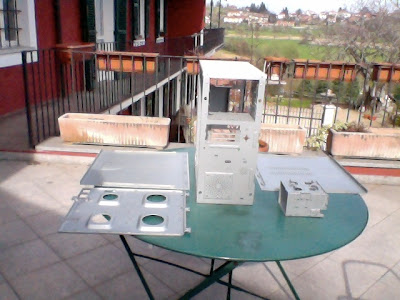
Wait a minute, what’s that? A fold out removable motherboard tray? A removable hdd caddy? I could not believe what I was seeing, I really did not know that this was available in a case from 1996! It seems that the Millennium Bug really did have an effect on computers, cases got better paint, but worse management. Anyway, here it is in more pieces:
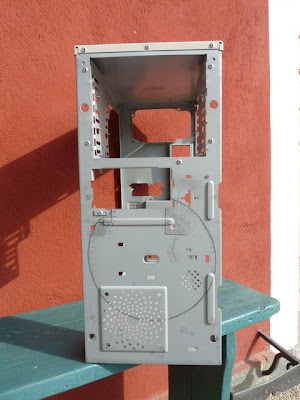
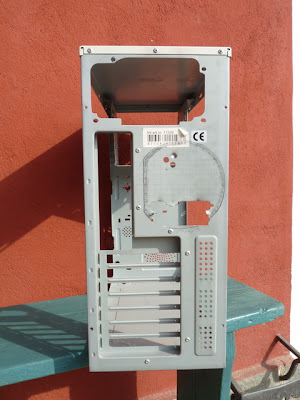
That’s two removable side panels, a fold out removable motherboard tray (with holes), the case and the HDD caddy. Time to do some cutting.
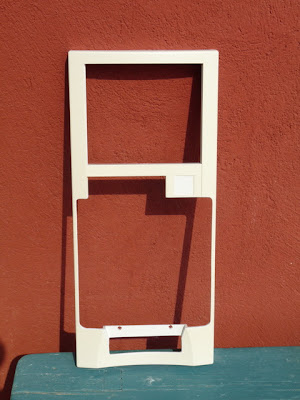
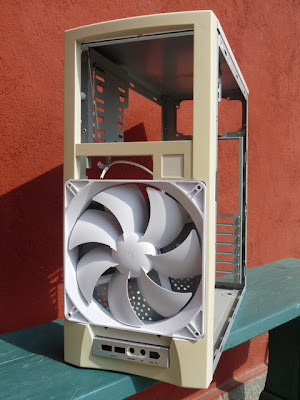
I picked up a 180mm fan for another mod idea I had but now that I’m moving again a desk mod doesn’t seem too clever, so time to give this case a real intake fan. First up was cutting the front plastic panel to accommodate the fan:
I also cut a smaller hole for a usb/firewire/audio front panel that I took of the Cooler Master case. Now the test fit:
They fit perfectly! OK, I’m not surprised. To get this I was outside filing and cutting for 5 hours. This being my first time doing this properly and wanting a perfect fit I worked very slowly, but in the end I am very happy with the results.
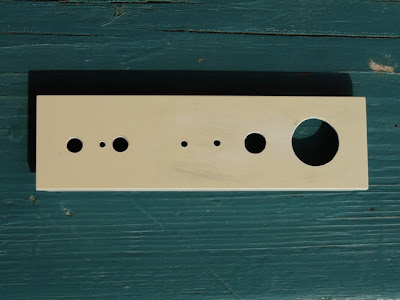
Next up was thinking of a new place to put the power plug. I also took another part off the Cooler Master case, the power button section which also included the reset switch, and power and HDD activity LEDs.
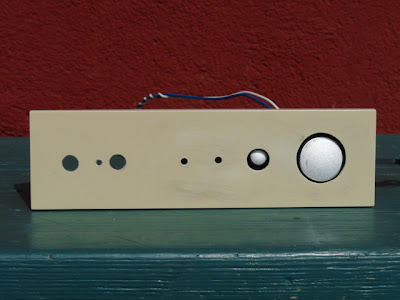
And a rough mock up with the buttons inside:
They actually fit perfectly, another two hours of work. The other holes are for the fan speed controllers. The Scythe CPU cooler I am using has a fan speed knob as does the 180mm front intake fan, so they will be fixed here. The piece of plastic used for this was one of the 5.25” bay covers and it will be positioned in the middle of the three available slots. Between a DVD drive and a Soundblaster Audigy 2 ZS breakout box.
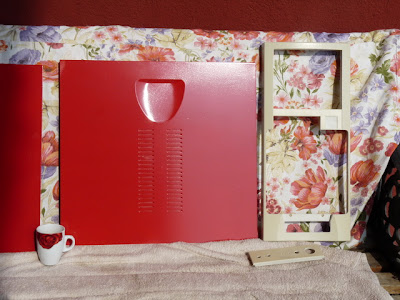
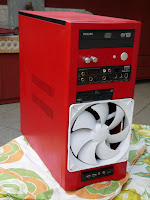
I found some paint in the garage that was a nice red and decided to paint the side panels. With only two coats at this point look at the awesomeness:
Very Italian, especially with the beautiful espresso cup. Unfortunately, the paint ran out at this point and no one could remember where the spray can was originally bought. This could be a problem, more on that later.
Anyway, more cutting, first up was marking out the holes for the fan air intake with an Ikea pencil. This is possibly the best pencil I have ever used for drawing on any material. Seriously.
Front hole for the 180mm fan marked up with screw positions.
Hole marked out for a 120mm exhaust fan. No screws for this one as they don’t fit, the fan fits perfectly with friction, will have to add some double sided tape to secure the fan and prevent vibration noise though.
I am no metal cutting expert and was not sure which of the girlfriend’s father’s tools to use. I didn’t want to ruin his woodworking tools so I had to wait until the next day for him to come back from holiday for some help.
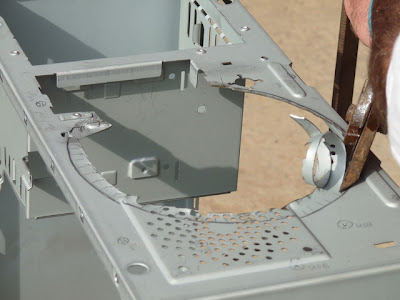
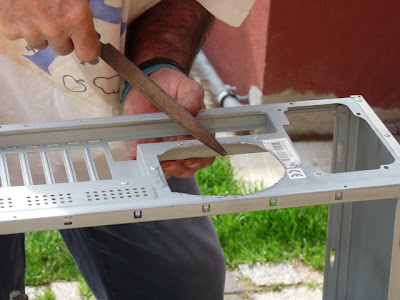
On his return he was more than enthusiastic about helping, and being an expert metal and wood worker almost had both the holes cut by the time I’d been to the toilet and made a coffee. I did manage to get back in time for some pictures of the work in action.
Apparently his metal disc for the rotary cutter was broken so he did all the cutting by hand using right-handed metal scissors.
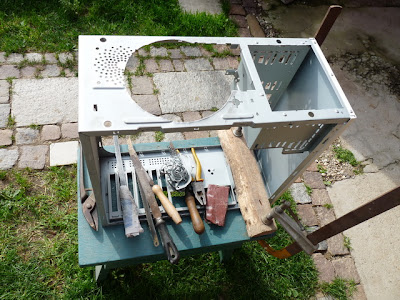
Front hole roughly done with the tools required for smoothing the edges.
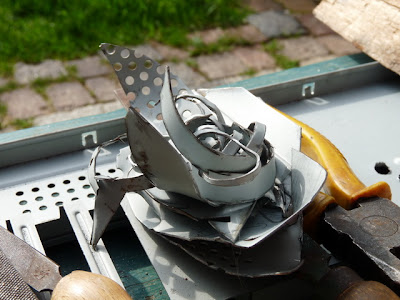
Offcuts.
Here he is filing the back hole. I should say he is a perfectionist so the results of this hole were beyond my expectations. He cut so well it actually looks like it was part of the original design.
Very nice! So cutting done, next up, painting.
As I mentioned before, no one could remember where the can of red spray paint was bought. So we bought two more with what was the same colour. At least we thought it was. The paint colour code was exactly the same but the new paint was more red than the previous and did not leave a finish as naturally smooth. This being my first time spraying where the final finish was important this was not as I wanted, as I also have very little experience sanding. No amount of watching The Mod Men youtube channel for tips is going to beat experience, and given that I had a lack of time surrounding the build of this mod I wasn’t going to start. I decided to just spray and see what happened after the paint cures.
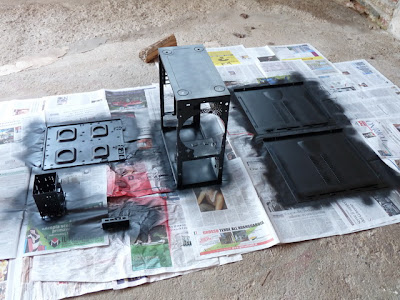
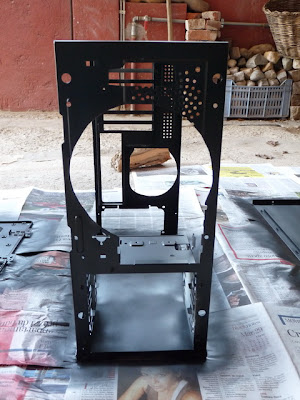
I decided that the inside of the case and the back should be black, with the top and side panels red, and leaving the giant fan white. I didn’t really have a theme in mind, just decided that would work. Here is the front usb panel, HDD caddy, motherboard tray and inside side panels in black after the first two coats.
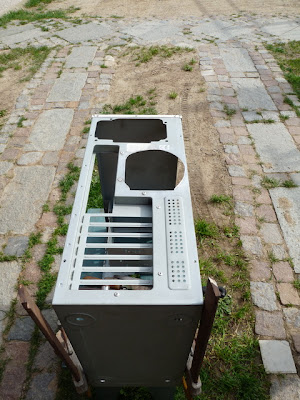
The case, upside down showing the two fan holes nicely.
Time for some red:
I genuinely have no idea how I managed to get so much paint on the newspaper and not on the panels! I made a mess! I’m sure I could have got away with just one can for the whole case if I could actually paint. More practice needed I think. Above the side panels you can also see that I decided to do one side of the motherboard tray red. It wasn’t a real decision, I ran out of black. In the end it actually looks really cool.
Some slight unevenness with the paint coverage. Was fixed with the next coat, but by then the battery had gone on the camera so no more pics. My girlfriend did however get a nice picture of the dog watching me work:
OK, so not really watching, but he is called Lord Byron after all, and what Lord actually watches his minions work.
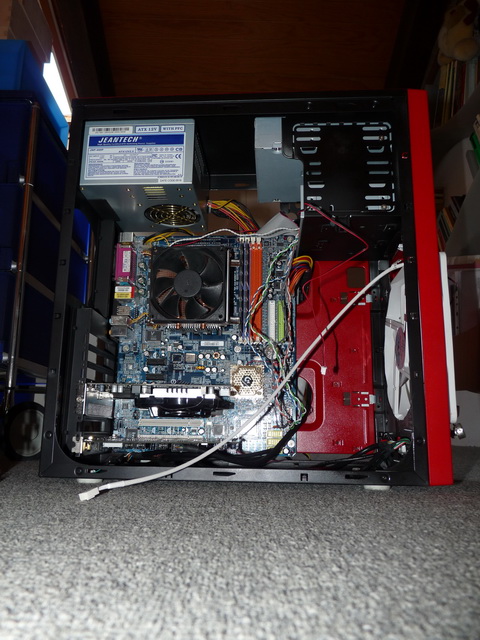
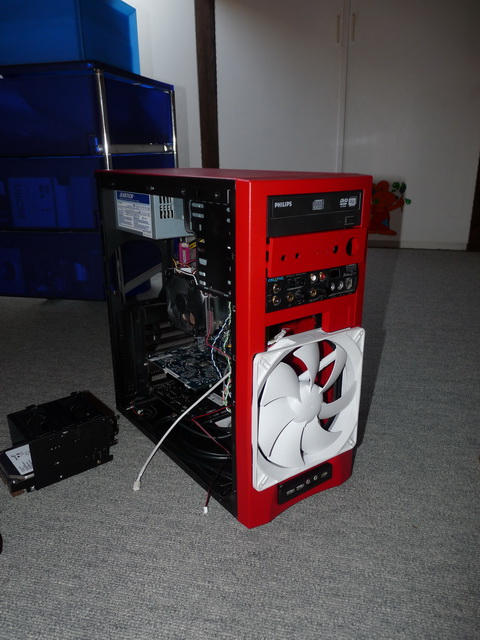
After a brief trip abroad I came back and finished the “beast” (OK, so not the most powerful PC around but is good enough for now!). Check out the pictures below.
Starting with the cable management. This being the first time I’ve actually tried this properly I had no idea how difficult and time consuming it actually is!
Take a break, take a pic. Work in progress…
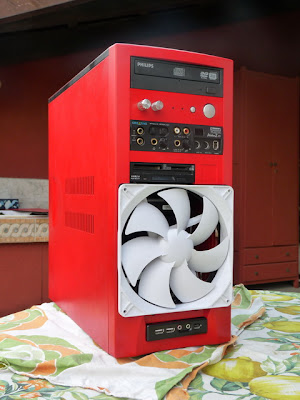
And here it is resprayed and all done up nice with a reminder of what it used to look like. A big improvement I must say. The wonders of a can of spray paint!
Unfortunately, after putting it all together it weighed in at 11.2kg. Given that in the three flights I took in the past 2 weeks every airline seems to be acting very strict about the 10kg allowance for hand baggage this was a problem. So, after hours of cable management I had to remove the power supply and DVD drive to bring it down below the 10kg limit. So they have to go in the hold and be refitted on the otherside.
Lessons learned:
1. Make sure you have enough spray cans before starting. This caused more stress than anything else. If I hadn’t seen the colour of the test spray I would be even happier with the red I have now.
2. SATA is the way forward. The ease of cable management and airflow benefits are priceless.
3. Make sure you have enough time to let the paint dry to put a protective coat on the outside. I have already managed to scratch the paint. Boohoo.
4. 10kg is not a lot for a full computer. Gives me an idea for the next PC, it must be under 10kg with everything (but I have to wait for The Elder Scrolls: Skyrim to be released to work out what I’m going to buy. MicroATX is definitely what I want.)
 Italiano
 Facebook
 Twitter





No comments:
Post a Comment